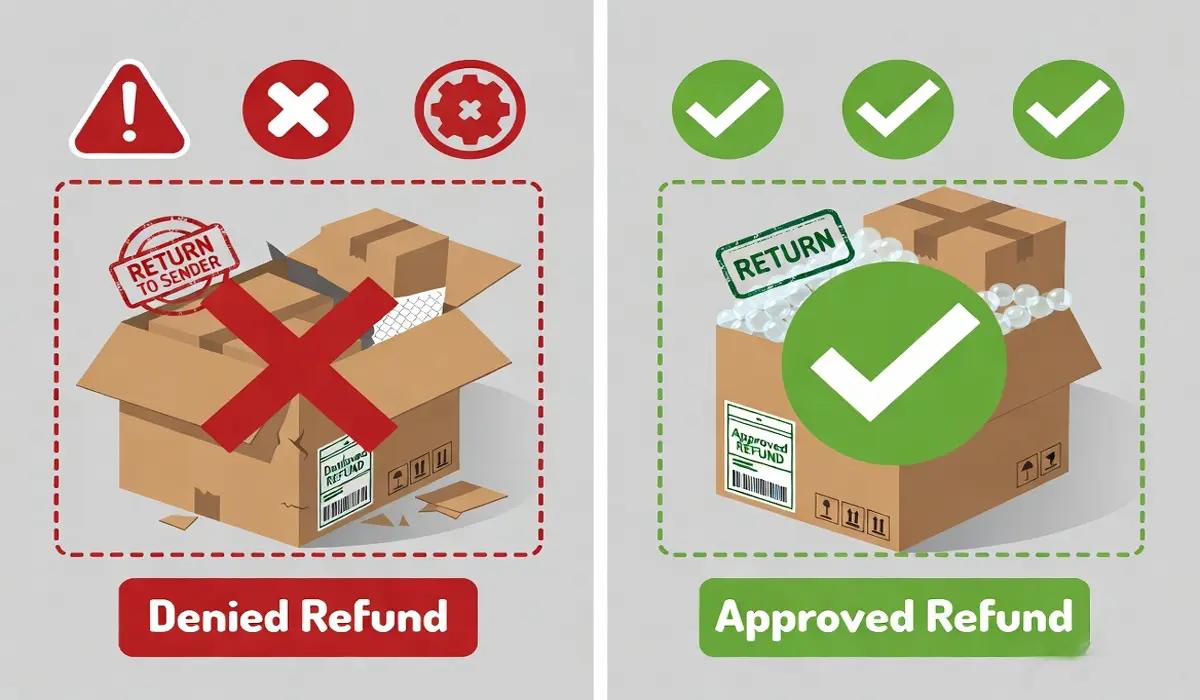
I learned this the hard way. Last year I returned a pair of headphones – threw them back in the original box, slapped on the label, and dropped it at UPS. Three weeks later, Amazon emailed: "Your return was denied because the item was damaged during shipping." The headphones were perfect when I sent them. But because I didn't protect them properly, they bounced around in a too‑big box and got scratched. That cost me $80.
Don't be me. Here's exactly how to package any return so you actually get your money back.
🤔 Why Packaging Actually Matters
Stores don't just look at the item – they look at how it arrived. If the packaging is damaged, missing parts, or clearly inadequate, they have grounds to deny your refund. And once denied, it's a huge pain to fight. A few extra minutes of careful packing can save you hours arguing with customer support.
📋 Step‑by‑Step: How to Package a Return
Follow these steps every single time:
- Use the original box if you have it. The store's box is designed for the product. It fits correctly and has the right foam or inserts. If you threw it away, find a sturdy box that's not much bigger than the item.
- Remove old shipping labels. Those barcodes confuse the scanner. Peel off or black out any old labels – both on the box and the original packing slip.
- Include every single accessory. Charger, manual, plastic bag, foam padding, warranty card – everything that came in the box must go back. Stores have checklists, and missing a $2 USB cable can reduce your refund by $20.
- Protect the item inside. Wrap the item in bubble wrap, crumpled paper, or the original foam. Shake the box – if you hear movement, add more padding.
- Seal the box properly. Use strong packing tape (not masking or duct tape). Tape all seams, not just the center flap.
- Attach the return label securely. Use a plastic pouch or clear tape over the entire label so it doesn't get ripped off in transit.
- Take photos – before sealing and after. This is your proof. Show the item's condition, the packed box, the sealed box, and the label. Retailers have denied returns claiming the item was already damaged; your photos are the only evidence you have.
- Get a receipt when you drop it off. Whether it's UPS, USPS, FedEx, or a drop‑off store – keep that receipt. It has the tracking number and weight. If the store says they never received it, you have proof of drop‑off.
⚠️ 5 Common Mistakes That Get Returns Denied
- Mistake #1: Using the original box as the shipping box. For expensive items (laptops, consoles), the product box often has images and is not strong enough for shipping. Put that box inside a plain brown shipping box.
- Mistake #2: Not removing the old packing slip. The warehouse scans the slip inside. If you left a previous order's slip, the system gets confused and your return is rejected.
- Mistake #3: Forgetting return authorization inside. Many stores require you to print a return form and put it in the box. Without it, they can't match the return to your order – delayed refund or denial.
- Mistake #4: Packing too tightly. Stuffing a soft item (like a sweater) into a too‑small bag can cause wrinkles or stretching. Use a box that's the right size.
- Mistake #5: Waiting too long to drop off. You have a window (often 7‑14 days after generating the label). If you miss it, the label expires and you have to start over – sometimes with a fee.
📌 Special Cases: Electronics, Clothing, Large Items
Electronics (laptops, phones, game consoles): These are the most scrutinized. Always use anti‑static bubble wrap. If the original box is gone, wrap the device in a soft cloth first, then bubble wrap, then put it in a sturdy box with at least 2 inches of padding on all sides. And for anything over $500, consider buying shipping insurance – the store won't cover damage caused by poor packaging.
Clothing and shoes: Fold neatly, don't cram. Remove any deodorant or perfume smells – that's a real reason stores deny returns. Put the item back in the original plastic bag if possible. For shoes, stuff them with paper to keep shape and put each shoe in its own dust bag or plastic bag.
Large items (furniture, mattresses): This is the hardest category. Many stores won't accept returns by mail – you must bring the item to a store or schedule a pickup. For pickup, keep the item wrapped in its original plastic. If you assembled it, you'll likely need to disassemble it (check the policy). And take many photos – of all sides, the assembly, and the packaging.
💡 Pro Tips from Someone Who Processed Returns
I worked a holiday season processing returns at a major retailer. Here's what I learned:
- Workers are overworked and under time pressure. If they see a messy, leaking, or unlabeled package, they'll mark it "return denied" and move on. Make their job easy – clean packaging, clear label, organized inside.
- Add a sticky note with your order number visible. Inside the box, tape a note: "Return for Order #XXXX – item new, unused". Warehouse staff appreciate this and it reduces errors.
- Don't use the store's own return labels for multiple items. Each return requires its own label. Putting two different orders in one box will cause one to get lost.
- If the item is defective, write "DEFECTIVE" on the outside of the box. This flags it for a different processing pipeline – no restocking fee.
One last thing: keep the tracking number and check the return status after 7 days. If it says "delivered" but no refund after 10 days, contact customer service with your photos and tracking. Most of the time, a polite but persistent email gets your refund released.